
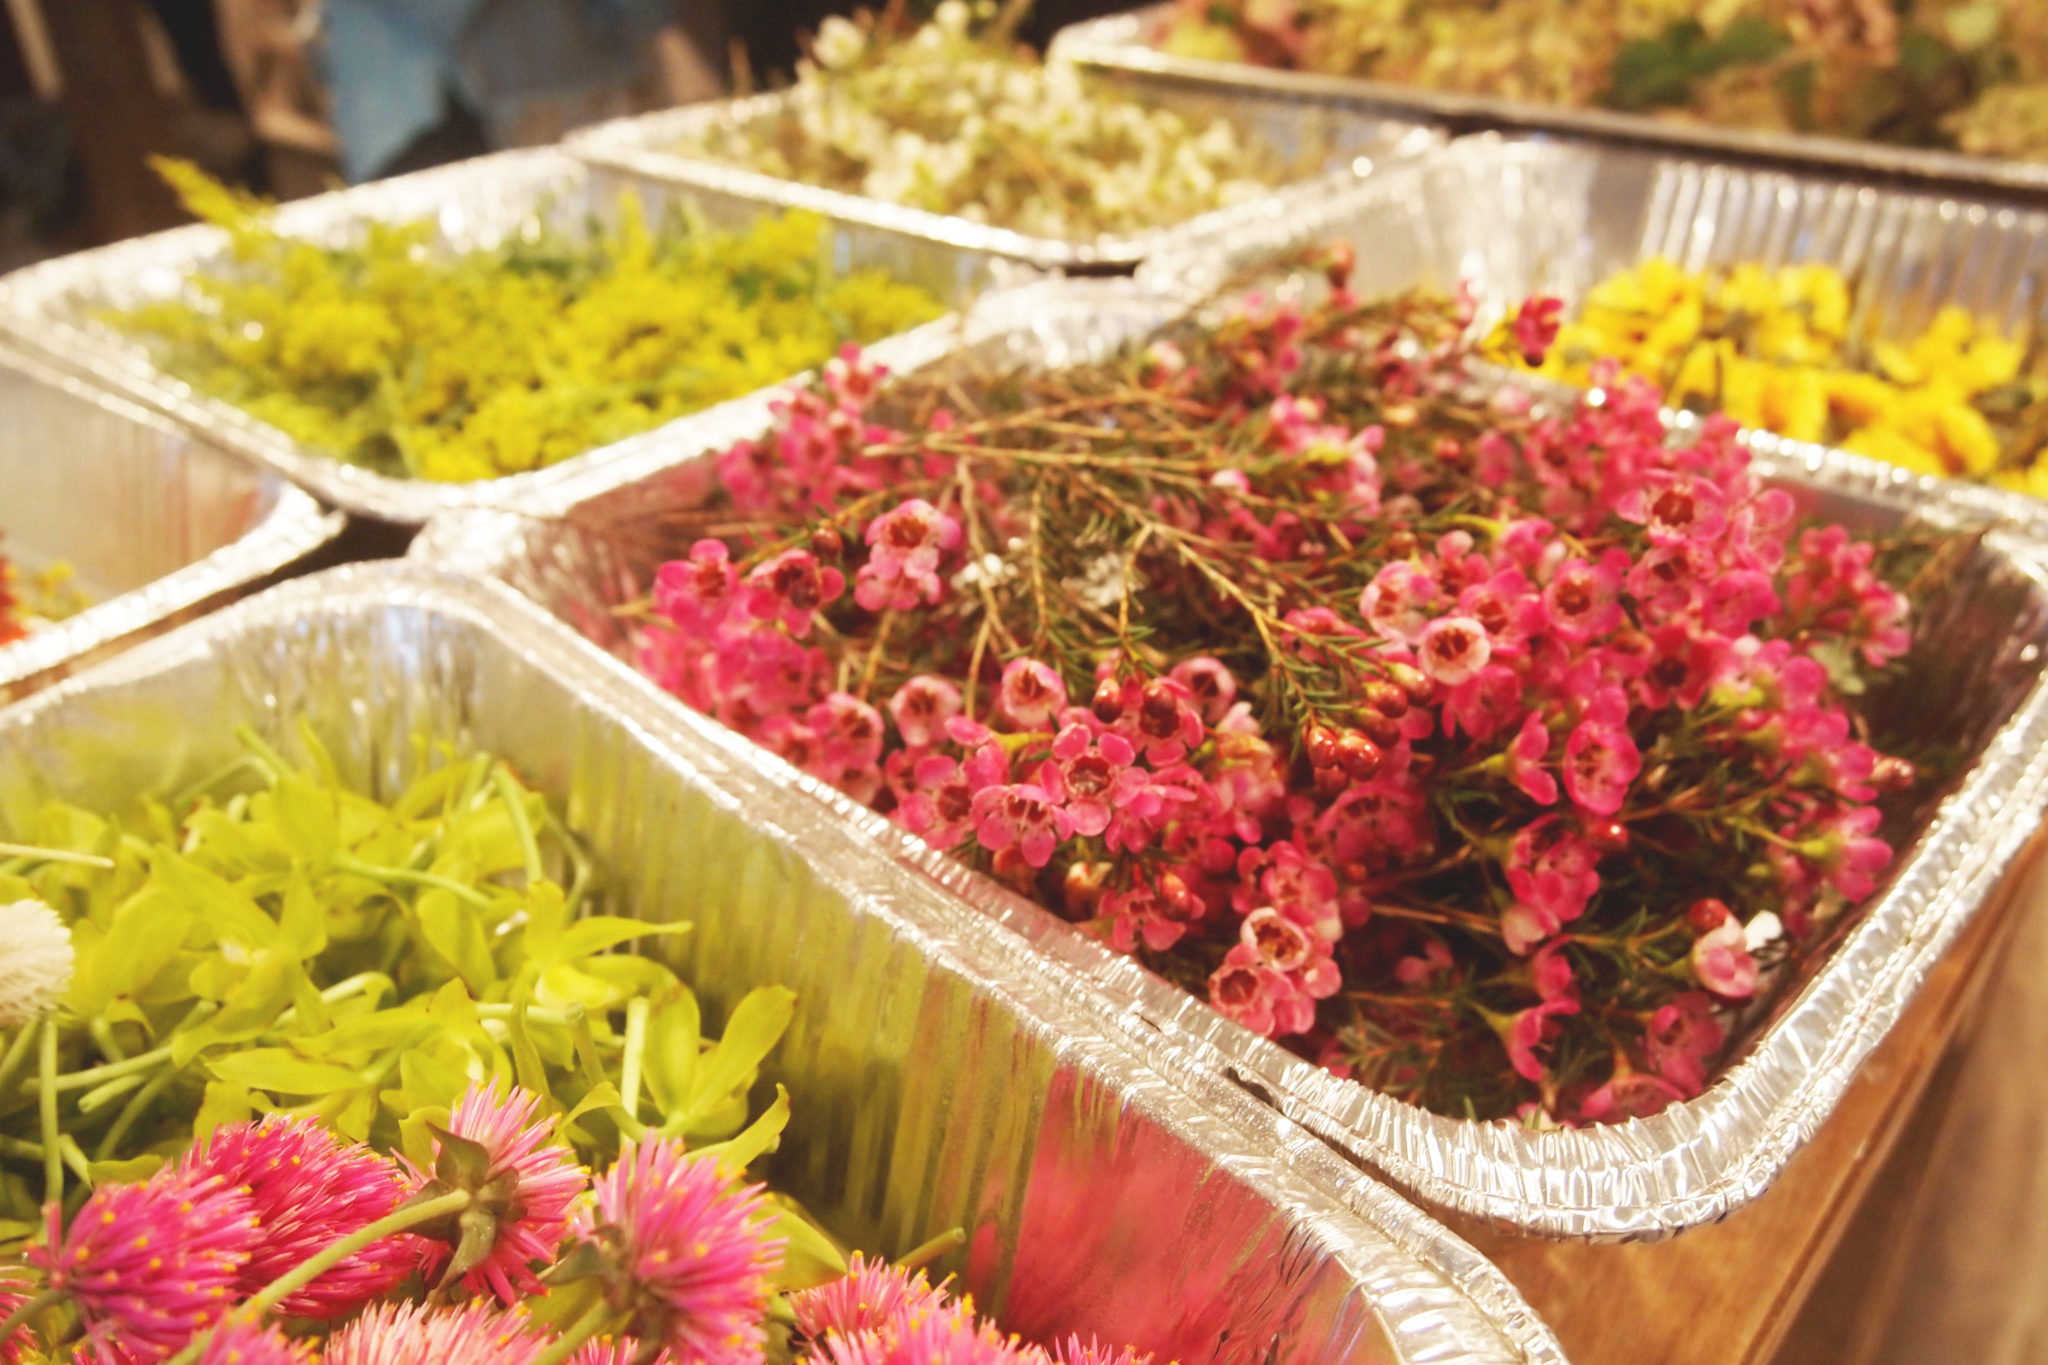
A buffet of flowers lay before a room of around 20 people with hungry eyes and eager hands ready to dig in. Tin pans lined a long wooden table, each filled with an assortment of plants—pink and purple bougainvillea, bunches of dainty white flowers, yellow flowers resembling mini sunflowers, green and yellow fern, amongst others.
To get the full experience of the bigger and better Paiko, we hopped in on a haku lei workshop shortly after the big reveal. Over the summer, Paiko went through growing pains, of the good kind. They expanded into the shop’s full space and added a second location of Brue Bar, a coffee joint, to the mix. With more space also comes more DIY items and workshop potential, which is easy on the eyes and hands for those already Paiko-obsessed. Enter: Haku lei.
Ann Kadowaki, who has been making these flower arrangements for more than 22 years, led the workshop. Kadowaki’s first learned how to make haku leis at her childrens’ school for the annual fair and became hooked to the craft. Today, Kadowaki can be found at the haku lei stand at the Punahou carnival, where she and others have “lavish potlucks of flowers” days before to produce more than 300 leis.
Haku leis have a special place within Hawai‘i’s culture. “Haku leis are used for all occasions—birthdays, graduations, weddings, showers, funerals, or just when you feel like celebrating,” Kadowaki said. While they are commonly used to adorn the head or worn choker -style around the neck, dancers also wear them on their wrists and ankles.
“It is important to continue the lei tradition … The lei is sharing, showing love, honoring someone. When you make a lei and give it away, you are sharing your mana—or spirit—with them,” Kadowaki said.
As learned from the workshop, here’s how:
1. Gather flowers, and lots of them. Any and all kinds of flowers and leaves will work—even the ones growing in your own backyard. You’ll also need long pieces of raffia and a pair of scissors.
2. Pull flowers from stems or separate bunches and lay out your chosen flowers and plants. It’s easier to line them up in front of you in small bunches within arm’s reach and grabbing extra as you go.
3. Take a long piece of raffia. If it’s thick, split it in halves or threes. Working with three strands, make a knot six to seven inches from the end. Working towards the end, braid or twist braid and knot the end. This becomes string for one side that you will use to tie the haku lei.
4. Holding either one strand or two strands in one hand (whichever you feel more comfortable with), use that hand’s thumb to hold down one flower/flower bunch/leaf/at a time, while using your other hand to wind the remaining strands over to hold it down
5. Repeat step 4, occasionally adding a piece of fern to the back of the haku lei to cover up the underside.
*If any of your raffia strands starts to get shorter and shorter, you can also just add on another raffia strand by tying it around your current plant piece and continue working as usual.
*It’s easier to place the haku lei on a flat surface as you work to keep the haku lei straight and to stop it from twisting as you progress.
6. Once it’s at desired length, knot it, then braid or twist braid six to seven inches and knot. Cut excess.
And there you have it, your first haku lei!
Check out Paiko’s upcoming workshops for 2015 here.

